Wednesday, 30 January 2019

2-D Animation and Comedy - Thoughts

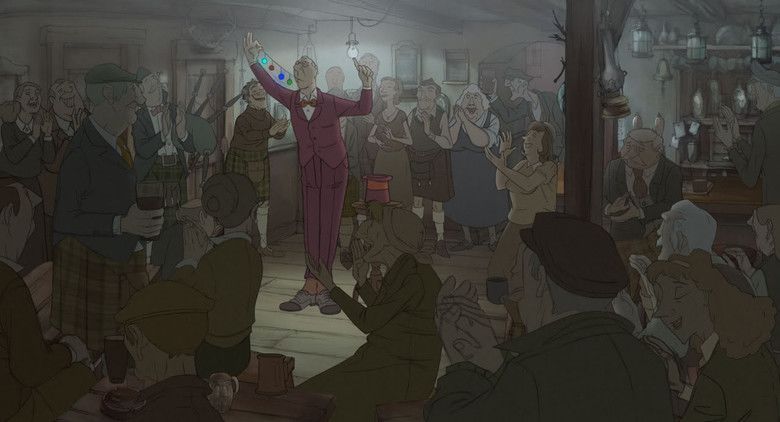
Having been brought up with stop-motion and the works of Harryhausen, Aardman and Laika, I can't say that this medium has been the sole source of inspiration in my creative endeavours. A couple of years back I saw a film that really blew my mind, using traditional hand drawn animation. The film in question was Sylvian Chomet's "The Illusionist" (2010). A film based on an unrealised script by the legendary French filmmaker/comedian, Jacques Tati. Tati's comedy is perfect for an animated film, and with very little dialogue, it manages to carry the viewer through purely on pantomime. Visually the film is beautiful, with nice uses of colour and line. The backdrops are gorgeous, using an almost watercolour painting approach to envisage 1950's Edinburgh, where most of the story is set. Must add the amazing soundtrack this film has also (it's on Spotify!).


Having being used to drawing from a very young age, using that skill to produce animation never really came across my mind until a few years ago, around the time I saw the film. Another great influence was meeting animator, Richard Williams at a celebration of his 80th birthday along with a Q&A at the Edinburgh Filmhouse in 2013 (I remember watching "Who Framed Roger Rabbit" the night before). The idea of breaking down the movement into a series of drawings fascinated me, and even made me question the complexity of everyday actions, such as a walk/run or a simple wave. That technical aspect of animation, never crossed my mind when I was practicing stop motion, as you have a physical model right there in front of you, it's just a matter of putting it into the correct poses for each frame.

Richard Williams taking one of his animation classes from his "The Animators Survival Kit" course.

Tati's comedy was another early inspiration for me. My Papa Bill shown me the film "Les Vacances de Monsieur Hulot" (1953), which later formed the basis for Rowan Atkinson and "Mr. Bean's Holiday".  I think I've always favoured visual over spoken comedy, with the likes of Laurel and Hardy (loved the new film!), Buster Keaton, Harold Lloyd and "Mr. Bean". There's something about the art of a visual gag that appeals to me; the build-up, timing and punchline, and is something I think could work well in animation. Slapstick comedy is no stranger with animation either, with such characters as 'Tom and Jerry" and the stars of "Looney Tunes".
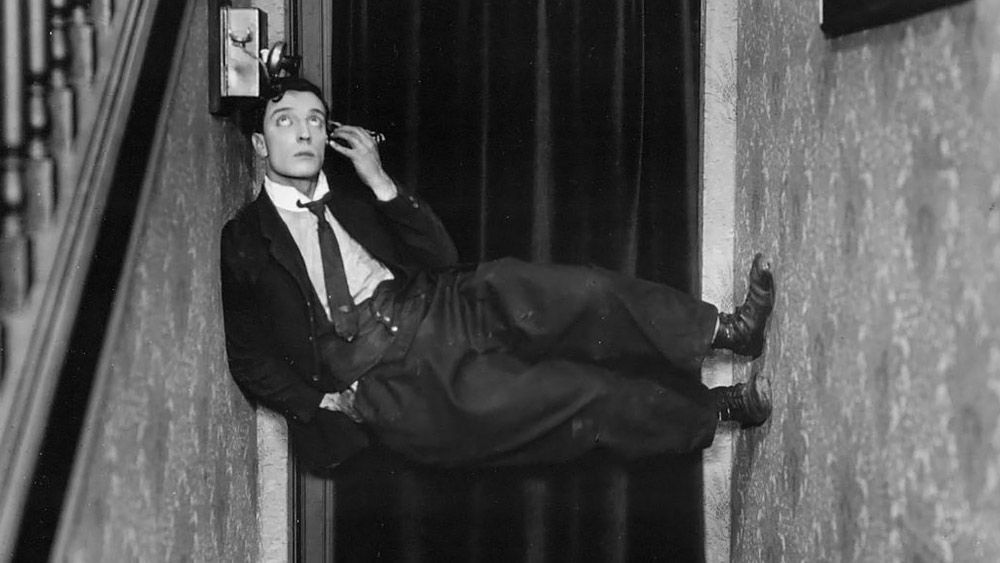
Buster Keaton - The stone face with great physical gag performances.

Harold Lloyd - providing comedy through action and thrilling gags.

Laurel and Hardy provided not only visual, but spoken comedy. The idea of straight/funny man works at it's finest with these two and their comedy is universally loved by many generations. The music by Leroy Shield is also a firm favourite of mine, and really compliments the action on-screen.

This idea of using comedy in animation appealed to me, and I developed a character which I called "Silent Stanley" (the alliterative name inspired by an early Harold Lloyd character called 'Willie Work'). The character I envisaged to be brought to the screen through stop-motion, however upon researching animated gags, I found that 2-D hand-drawn may lend itself better to comic gags and over-exaggerated movements.
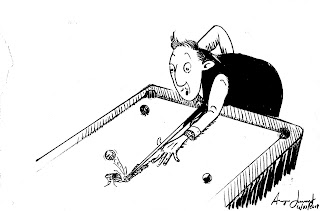
One of the first "Silent Stanley" gag sketches, inspired by Stan Laurel and Peter Sellers.

The "Silent Stanley" idea is still an early concept, but it's something I would like to flesh out more once more familiar with the medium. As someone who is new to this form of animation, it would take time to learn and develop my own technique. I must say Richard Williams' "The Animator's Survival Kit" and "The Illusion of Life - Disney Animation" are must have's (not just for 2-D work)!


As an avid user of Adobe Photoshop, I was surprised to find that you can animate within the program! All be it, very limited in its tools, but it does have Onion Skinning and the use of multiple layers. Below are tests I made, using the principles of 'Squash and Stretch' and two different walk cycles.


Disney's classic animated films were also a big part of my childhood, particularly "Snow White and the Seven Dwarves" (1937), which terrified me! As much as their films showcase is some of the best character animation in film, it's the backgrounds and compositions that really appeal to me. Some great examples are, the forests in "Bambi" (1942) (utilising the amazing 'Multi-plane camera') and the 'Rite of Spring' and 'Night on Bald Mountain' segments from "Fantasia" (1940).  All of these create great atmosphere, with the latter two featuring very dynamic sequences that follow the classic music scores.

Opening shot from "Bambi" (1942) - shown in panorama view.

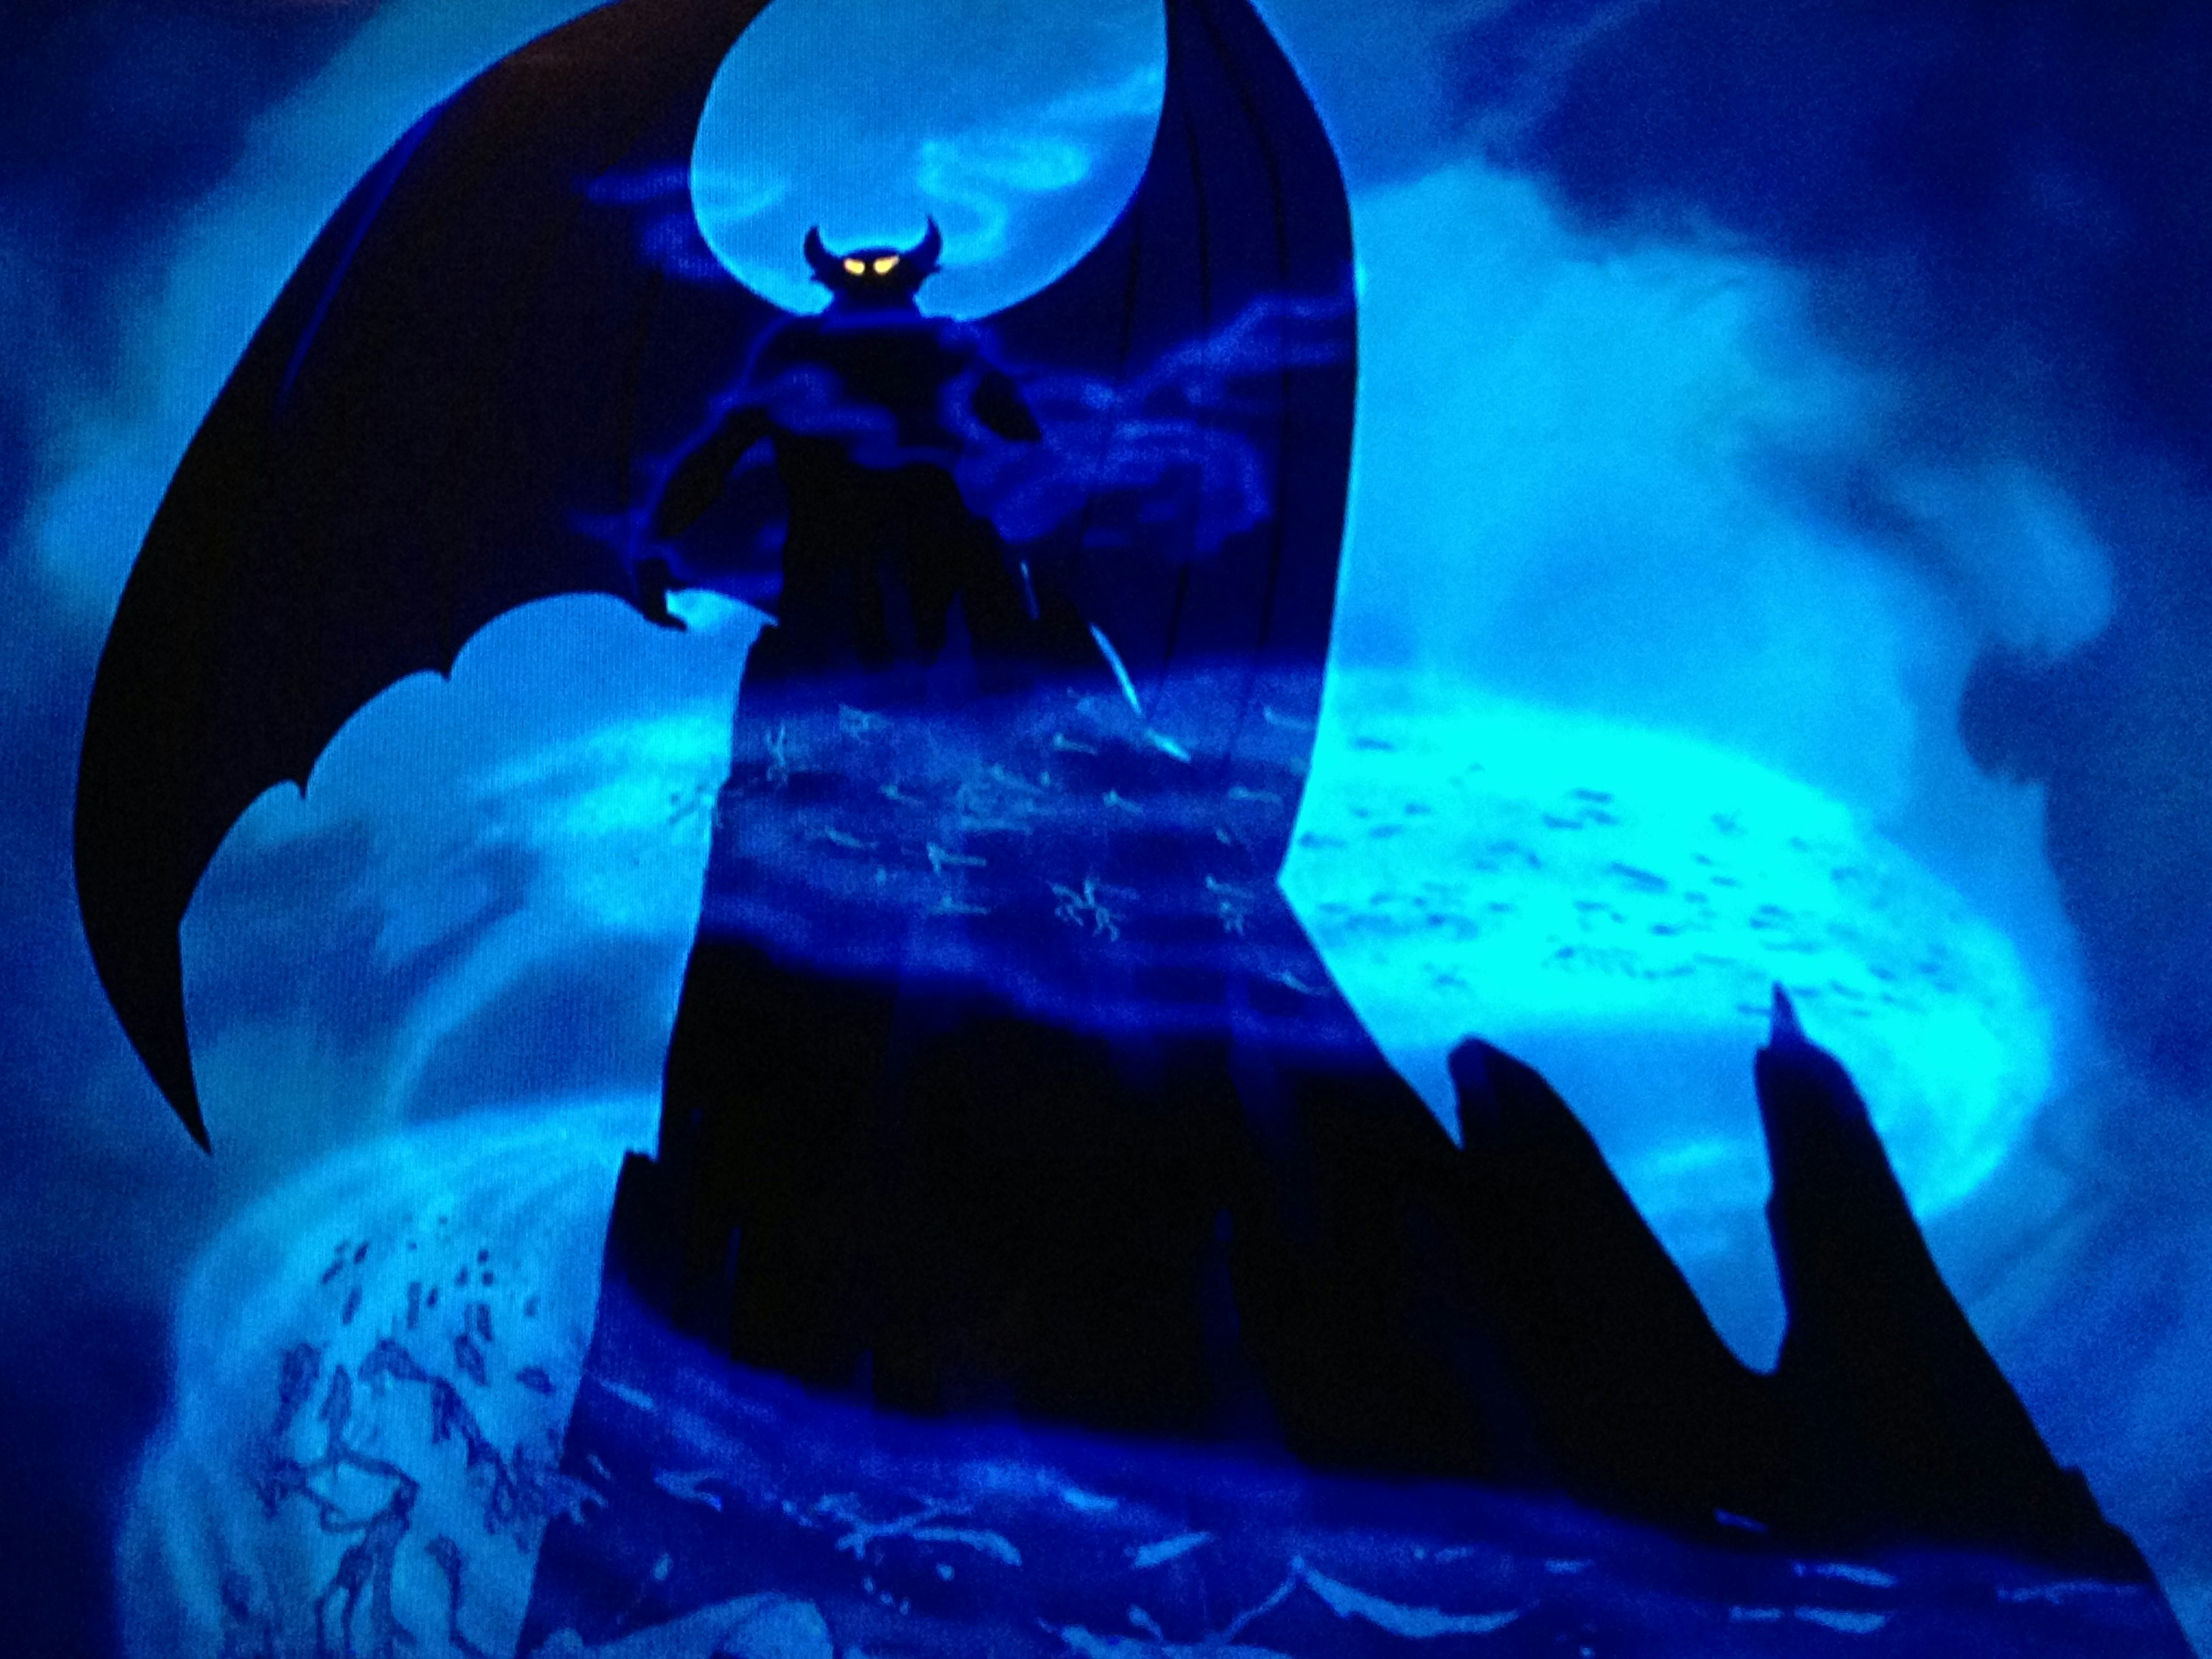
Chernabog in the 'Night on Bald Mountain' segment from "Fantasia" (1940) - I can't help but think that German Expressionism was a big influence on this sequence. I love the Chernabog character, very menacing and less of a cartoon-like figure.


'The Rite of Spring' sequence from "Fantasia" (1940). As a huge fan of dinosaurs, this sequence has it all for me! Exploding volcanoes and prehistoric monsters in combat. The animators also manage to generate sympathy for these animals, particularly in the Drought sequence.


Thursday, 10 January 2019

Project #Harryhausen100: Animating and interviews...

First I'd like to start this post off by wishing everyone a Happy New Year! Over the Christmas/New Year period, I took a break from the animation/creative projects, but now with 2019 in full swing, I'm back into it. Yesterday I started off with some lighting tests on the miniature jungle set, using one desk lamp (only one I have at the moment), which seems to be good for night time lighting, but I think another one or two will really help. Right now the dino is in silhouette, as I have the lighting coming from behind the trees. If I move it anywhere else, the shadow of the foreground/midground objects is cast on the background painting, which obviously is something you want to avoid. I'm still learning about lighting and the different types you can use, but right now these lamps seem to be doing the trick. The lense I am using is a standard 18-55mm kit lense, fitted to my Canon 700D DSLR. This lense is great for this shot, as it has a wide angle and gets a lot of the scene within frame. Again I am not the biggest expert on buying lenses and I ay have to look into other types for close-up shots.

First lighting test photo from Dec, 2018.

B&W '1933 style' photo test from Nov, 2018.

Below are two photos taken during the first animation test, from 9th Dec, 2018. I'm really happy how these turned out and the sense of depth in the miniature set. I'm not an electrician, but I've had a bit of problems with the power in the garage. I can't have too many things running at once, power wise, so the main lights/heater have to be turned off whilst animating. I have a laptop (run from the mains) running Dragonframe stop motion software, which is hooked up to my DSLR (also hooked up the mains, so I never lose battery power) and finally the one desk lamp. Hopefully I can get away with running one or two more lamps!

Closer look at the setup, with the DSLR on the left of the photo (Dec, 2018).

Another angle (Dec, 2018).

Positioning the dinosaur puppet during the animation process (Dec, 2018).

And finally, here are the finished tests with the model within the set. From these tests, I have come to the conclusion that the dinosaur puppet may need to be rebuilt. The legs are not holding up to animating walk cycles and are becoming lose at the hips and ankles. It may be an idea to go with a ball and socket frame, which would solve the problem, however costing is very high on bespoke armatures. The warm and positive feedback I have got on social media (as of now, 4 likes away from 500 on my Facebook page) and YouTube, regarding these tests is very motivating and I'd like to thank everyone for the continued support!

Stop motion tests from Dec 2018-Jan 2019.

I would also like to thank Scottish Films & Filmmaking News, who kindly asked me to feature on their website. It was a great opportunity to answer questions on my background, interests and career plans (and also saves me writing about it on here). If you would like to read the interview, here is a link to the page.


Until then, stay tuned!

Sunday, 23 December 2018

Project #Harryhausen100: Making Dinosaurs!

So earlier in the year, I decided to make my first serious stop motion puppet and the thought of doing a classic style T-Rex really excited me. So I started with some concept drawings on A4 paper, detailing how the armature would fit within the physique of the creature. Due to my budget, I use aluminium wire for my stop motion armatures, which is good, but these are prone to breaking over a long period of use. My first attempt was all build up (including the head) and the results were not satisfying enough, plus the armature was weak in design and the arms were too short.


I decided to scrap it and start again, this time using wooden dowelling to act as solid 'bones' or grab points. I was still going to utilise the 'build-up' technique (the same technique Marcel Delgado used on "King Kong"), which involves making a puppet without the use of an existing sculpture to cast from, and has the foam built directly over the armature. You can get great results with build-up models (eg. Jim Danforth's 'Mother Dino' from "When Dinosaurs Ruled the Earth"), however if you are wanting a model that can be easily duplicated or if multiple identical characters are required, then a silicone/latex cast puppet would be better suited.

The T-Rex armature Mk. 2. I used Milliput epoxy putty for the leg bones.

Foot armatures (photo taken later on).

This was then covered in upholstery foam to block out the anatomy of the dino, and glued with spray adhesive. I also made a wooden skull with an articulated jaw (wire). The feet were also wood and wire, with a tie down nut inserted into the base. 


I sculpted the head and some skin textures in Monster Clay (a fantastic product for sculpting!) and made plaster moulds of these (Crystacal), the head being a two-part mould. The previous model I attempted had an entirely built up head over a wooden skull, and although it looked good, I knew I could get better and more detailed results with a carefully sculpted and cast head.

Original Monster Clay sculpture. 

Two-part plaster head mould.

I then made tinted latex castings from these moulds and the results were pretty darn good! Latex is a great cheap material, but does have a shorter life expectancy than silicone rubber. A lot of latex/foam latex models (a thicker consistency of latex that fills the entire mould and surrounds the armature), tend to deteriorate after a while. Sadly a good number of Ray Harryhausen's iconic creations have rotted away over the years, but restoration work has been carried out to save them. 

Once the armature had been padded out with foam, and shaped with scissors and foam bandage wrap, I then started layering the latex skin, which was then dry brushed with a highlight colour. To hide seam lines, I used drops of tinted latex to create wrinkles and other skin textures. The claws on the fingers and toes were sculpted with Milliput and sharpened with a Dremel tool. I also used toothpicks to make teeth and these were glued in with superglue. 

Tinted latex head casting.

Foam padding.


I do hope to use this critter in my short film, though I think a replacement may be in order with some armature adjustments, such as the placement of the tie-down nut, which should really be near the middle of the foot, to allow for a smooth foot lift/landing in animation.

Next I shall cover the second stop motion 'star' I have been making!


Monday, 10 December 2018

Project: #Harryhausen100 - Making sets!

I started making the miniature jungle/forest by making some trees using chicken wire to create the form. I then clad the wire with 'Modroc', a plaster bandage that sets when soaked in water. I made two of these, one more prehistoric in appearance. Details like vines/creepers were made with wire and hot glue (thanks to animator, Norman Yeend for the suggestion of hot glue). I also used the glue to texture the tree and glued miniature scenics/lichen to chicken wire frames to create the tree foliage. The trees themselves were painted with acrylics. At the base, I glued a plywood disc with a nut embedded in it, which would enable me to tie the tree down to the animation table. This means that I can reposition the trees if needed. The ground was made using Crystacal-R plaster mixed with model railway ballast, which was textured with my hand, and then painted.

Blocking everything out. The second tree wasn't used.

Tie-down tree (same principal as with an animation model).

I also made a miniature foreground, which was carved from urethane foam with a hot knife and then covered in Crystacal. Again, I used acrylic paint and dry brushed highlights on, as well as small details like moss, using model railway scenics.

Urethane foam/Crystacal rock foreground piece.

The 'jungle floor' made with Crystacal and model railway ballast.

Chicken wire frame with wire branches.

Cladding in plaster bandage (Modroc).

Painted and textured. More foliage is glued to the wire frames.

Another finished tree (the first one I made).

Painting the jungle floor with acrylics.

Idea of scale.

More miniature elements added. I decided later on, to remove some of these small 'shrubs' as they were too fragile.

With all of these elements, I could see a scene coming together, but something was still missing; a backdrop. I had two options, the first was to simply use a green screen and make a digital background using Photoshop and scanned drawings, however lighting the green screen as well as the set would mean a lot of lights. So I decided to try my hand at painting, something of which I hadn't done since Advanced Higher Art & Design in high school! My first attempt was on A3 sketchbook paper mounted on plywood, which turned out to be too small. This was good practice though, and gave me an idea of what to fix for next time (I also watched Bob Ross!)

Unused painted backdrop on A3 sketchbook paper.

The style of the background painting was very much inspired by "King Kong", as previously mentioned, but I also looked at Disney's work from the 30's and 40's (particularly "Bambi").

The new and improved painting, which was done directly on plywood (primed first).

Unbeknownst at the time of painting, the colours were quite reminiscent of the sets done for the unrealised Merian C. Cooper (of 'Kong' fame) epic, "War Eagles" from around 1939/40. This film was to have surpassed the 1933 film technically and visually, introducing lush Technicolor! It's a shame that there were no stop motion fantasy films in colour from around that time, sure 'Kong' was colourised later on (horribly!), but I feel that had "War Eagles" been made, it would have been a masterpiece.

Here are some very rare framegrabs from lost "War Eagles" test footage. The miniature setups are very similar to that of "Kong" (the same effects artists were on board) and the vibrant and lush colour palette is something I look for in my set.
Source: "War Eagles" by David Conover and Philip J Riley (highly recommended!)

I also added a wooden foreground frame (made from pine), which would hold the foreground rocks in place, as well as enable me to clamp lighting or add any foreground elements in to complete the shot.

 Wooden frame in place (special thanks to my dad for helping out there!)

The backdrop in place, a much better fit.

So with near enough all elements in place, I decided to try a few lighting tests...


Project: #Harryhausen100

This year, The Ray & Diana Harryhausen Foundation made some announcements on their social media pages about their upcoming plans for Ray's centenary in 2020. I first heard of this at a screening at the Glasgow Film Theatre, celebrating the 55th anniversary of "Jason & the Argonauts", as well as what would have been Ray's 98th birthday. Special guest, John Cairney, who played Hylas in the film was there to share his memories of filming (it was also his first time watching the film!). A great evening on a very warm Glasgow summer night. The big surprise was the announcement of the upcoming exhibition showcasing the entirety of the Foundation's archive, to be held in Edinburgh in 2020. 
Meeting two stars from 'Jason', along with Foundation collections manager, Connor Heaney.

All this exciting news got me thinking. As a big admirer of Ray and his career, as well as a passionate creative artist, I thought of ways I could maybe contribute to the celebrations. In the past, I have had numerous ideas for short films, using stop motion animation as the medium, however most of these projects have rarely advanced past short tests and drawings. This is entirely my fault, due to lack of motivation and procrastination (an honest blogger!), as it was a solo endeavour.
I had recently re-read Ray's first book, 'An Animated Life' and it made me realise that Ray started off in a similar fashion - using his dad's hobby house as a studio to work on his projects. 'Evolution of the World' was to be his first epic, chronicling the progression of life on Earth. Having seen the photos and test footage the 18-20 year old Ray animated for his ambitious and sadly unfinished 'magnum opus' of the time, I realised that I could make something independently and without assistance.

A young Harryhausen working on the unfinished "Evolution of the World" project.
Source: 'Popular Mechanics' Magazine - April, 1942

Now shortly prior to this, I had actually made my first fully finished stop motion model, a classic style T-Rex/Allosaurus (can't decide what it is). What I mean by 'classic style', is the posture of the creature, which many scientists believed stood upright, with the tail dragging behind. Basically the opposite of what "Jurassic Park" did with their T-Rex. I used a traditional 'build-up' method, similar to what Marcel Delgado used on "King Kong"; an aluminium wire armature, with built up foam anatomy clad with latex rubber skin (cast from a mould).

Back garden photoshoot.

I must admit, I am very proud of the results, although I may have to tinker with the armature a bit to avoid loose joints. Of course a fully machined ball and socket skeleton would be a dream and hopefully later down the line I can maybe get one custom made to my requirements. So I used this model to practice my animation technique (though a human figure would be far better suited for walk cycles and character animation), and the results were satisfactory. I even went one step further and did a slightly modernised 'Dynamation' test with me fighting off the creature in my back garden (the neighbours must have thought I'd lost it!). I also built a little stop motion version of myself to enable the dinosaur to pick me up in it's jaws.

Watch me fight a T-Rex in my back garden.

The short 10 second clip received lots of positive comments, which was a big confidence booster. The only downside was that animating in my bedroom was not going to be suitable for serious stop motion. I had accommodated a small space in my parents garage to do my work, even a small green screen setup, however the space was absolutely tiny. So this summer, my dad and I decided to clear the whole garage and I soon bought a 7ft long workbench that would occupy my various workshop tools. The workbench is a godsend and I find myself going up there near enough everyday to work or tidy up (spamming my Instagram and Facebook followers with constant updates!)


So after the Summer was over, apart from my job, I was working on a limited series of George Formby resin busts, which I would sell to the Society in Blackpool. I'll cover this in more detail in a later post. After a lull in sales, I decided to turn one of my old homemade practice animation tables into a miniature set. I knew I wanted some sort of environment where dinosaurs/creatures could wander through, so I went with a fantasy forest/jungle. I must admit, I started making it with no plans or concept drawings. Inspiration wise, I found myself looking at the jungles featured in "King Kong" and "The Son of Kong", both using miniature/matte painting setups. I understand that the animation setups in those films were made up using a layer effect which when viewed from the front (foreground to background), created an illusion of depth. I learned this from the fantastic documentary "RKO Production 601: The Making of 'Kong the Eighth Wonder of the World'". These setups could reach about 20 feet in length, consisting of a background painting, miniature mid-ground with animation space and a miniature or glass painted foreground. The following photo illustrates the process, with added info on miniature rear projection for incorporating live action footage.

Source: https://deneroff.com/blog/willis-obrien-iwerks-multiplane-camera-and-fleischers-stereoptical-process/

An example of the wonderful 'Skull Island' jungles as seen in "King Kong" (1933).

I always admire how animator/effects technician managed to pull this off back in 1933 along with the talents of Marcel Delgado, Byron Crabbe, Mario Larrinaga, Buzz Gibson, Max Steiner and Murray Spivak. These guys were the unsung heroes I aspired to follow, and still do. Ok the film technically, is inferior to what we see nowadays (although I still prefer practical methods over computer assisted effects), but when you think about it, nothing like it had ever been seen before and there wasn't a computer in sight! These artists were literally paving the way for what we have today, and thats what I admire most. So if it could be done with no digital assistance back then, and produce fantastic results, then surely I would be able to do the same...